Construction III / Back; Top
Note: Until indicated otherwise the following construction-process will not differ from the construction-process of a four string cello. Please skip this part if you already know about the basic construction of a cello. Because we did not, and assumed that most cellists don’t either, we included those steps in this report.
After finishing the bouts Ueda started with the construction of the backside of the instrument’s body.
Picture 67: Back pieces glued together.
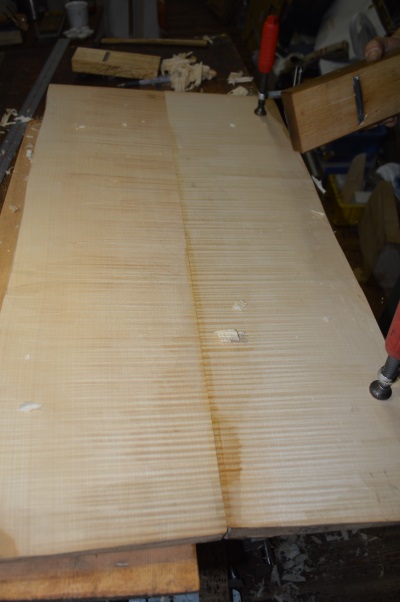
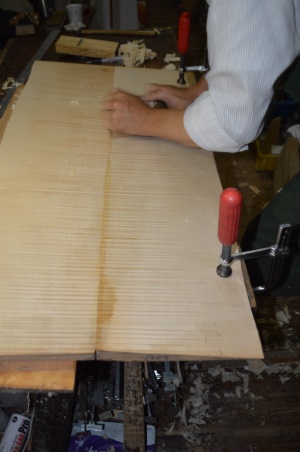
After the glue was hardened the back was being planed.
Picture 68 and 69: Planing and checking evenness..
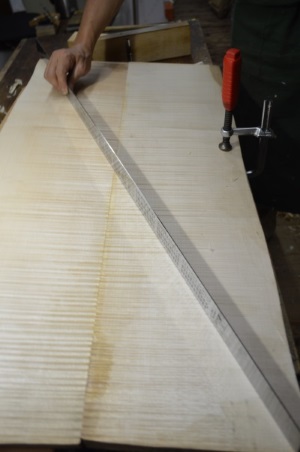
When the planing process was finished the contour of the bouts was sketched onto the back.
Picture 70: Transferring the contour of the bouts..
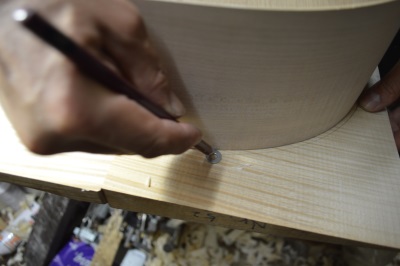
Then, using a washer, 3mm were added to the contour. The back will be cut close to this line, creating the provisional overlapping rim that is necessary to protect the bouts from damage and that ensures the beautiful shape of the instrument.
Picture 71: Drawing the contour of the edge.
The back piece then was cut with a special saw as close as possible to the outer pencil marking in order to minimize the final adjustment work. The blur in the next picture is due to a slow shutter speed intentionally chosen to show the rapid up-down motion of this type of saw. For cuttting smaller parts of wood usually band saws (equipped with a long circular band blade, rotating in just one direction within the machine) are used, but those saws come generally in sizes that are not suited for work on long and big parts of wood.
Picture 72: Cutting the back.
The back has been cut-out quite closely to the penciled contour but there will still be some corrections necessary, especially at the C-bout parts and the neck.
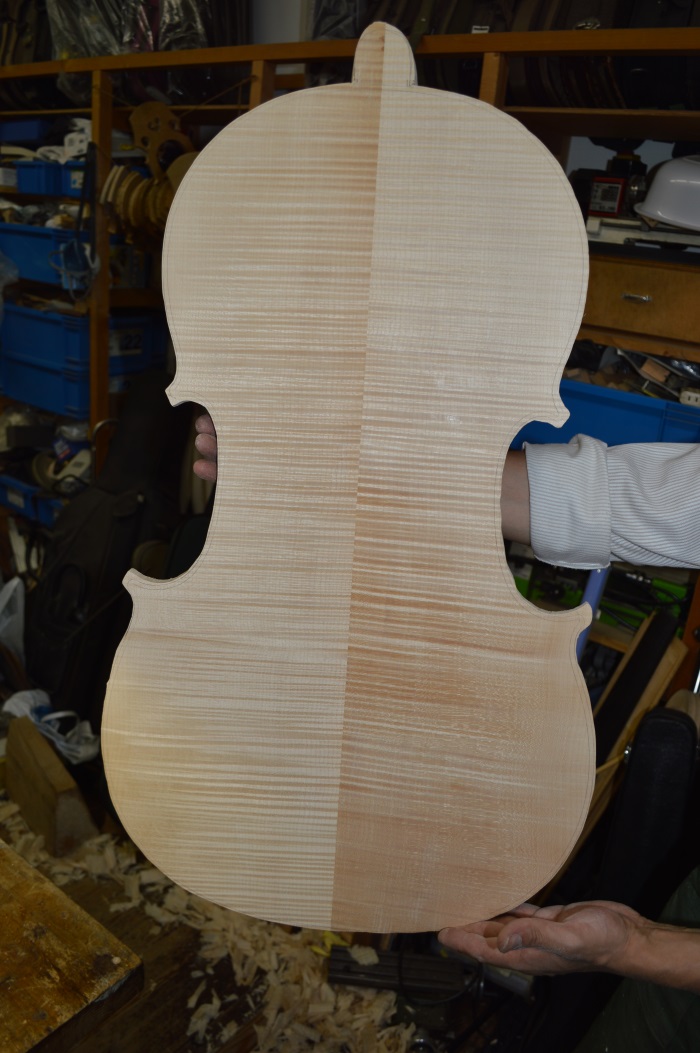
Picture 73: The cut back; outer side.
The top was then cut in a similar fashion.
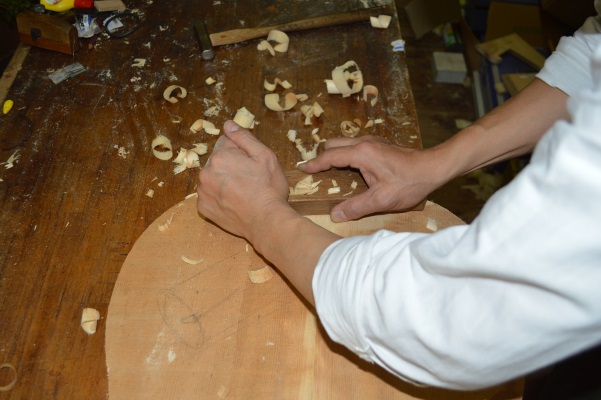
Next, Ueda started to plane both parts’ upper sides in order to start the work on the final arching.
Picture 74: Planing the top.
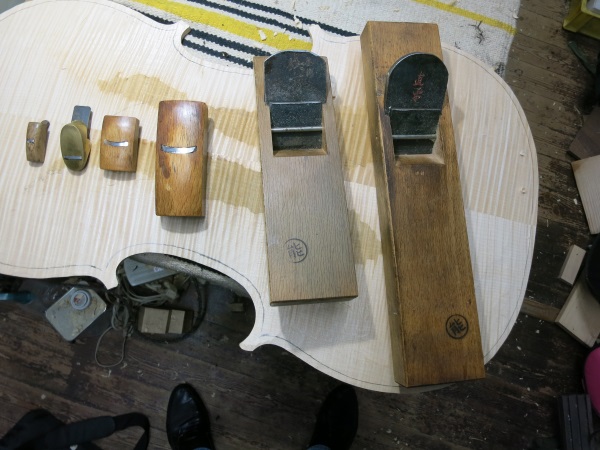
Picture 75: Some of the tools used for the planing, arching process.
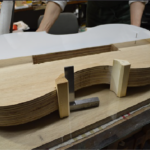
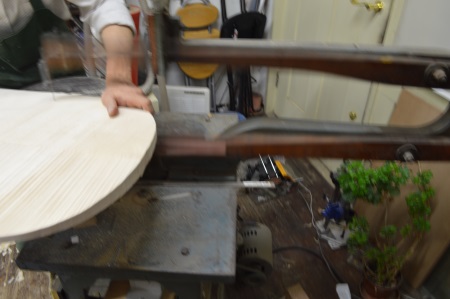
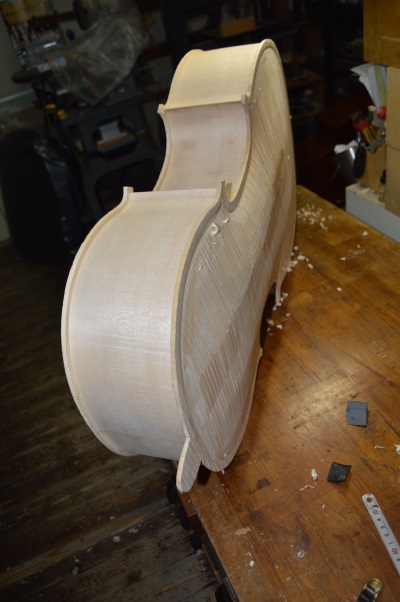
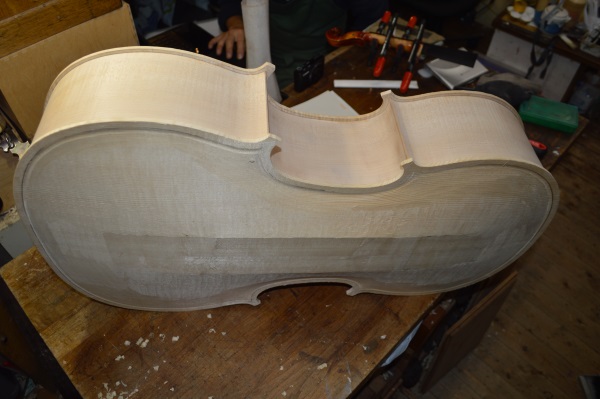
When the surfaces of back and top had approximately reached their final arching the body was temporarily glued together. (At this state the form is still inside of the body.)
Picture 76 and 77: The temporarily glued-together body.
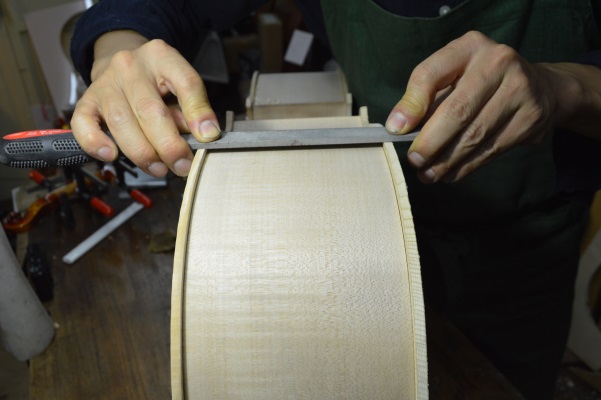
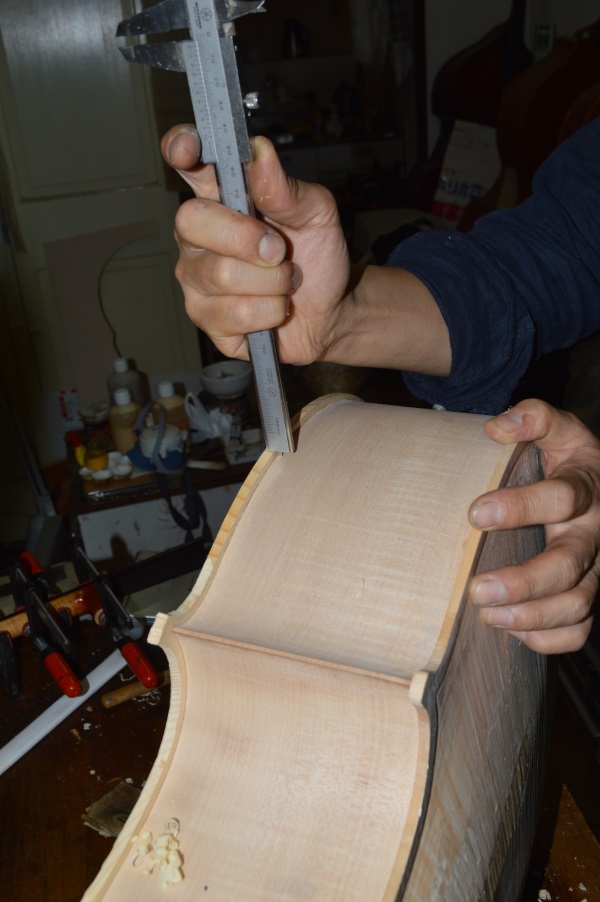
This process serves the purpose of creating the final contour of the cello. The rim will be cut down to 3.5 mm, leaving some space for final corrections.
Picture 77, 78 and 79: The rim and the tools that are used for cutting it down. (Planing, filing, measuring.)

After the contour is perfectly taken down to 3.5 mm from the bouts the body will be taken apart again and the work on the inner arching of both bottom and top will begin.