(Note: From this point on the construction-process differs from the construction-process of a four string cello.)
CONSTRUCTION OF THE NECK
(Click on pictures to enlarge.)
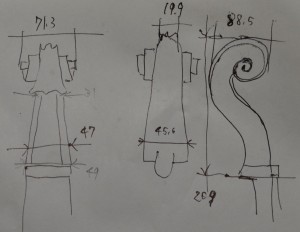
Picture 94: Measurements of the scroll. (Sketch by Ueda.)
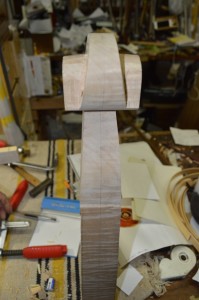
Picture 95 and 96: Early stages of producing the neck.
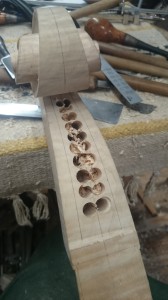
Picture 97: Fingerboard attached.
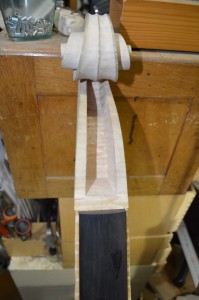
In order to accommodate for the fifth string the fingerboard was made about 1 cm broader than a four string cello’s. This also results in a slightly bigger size of peg box and scroll.
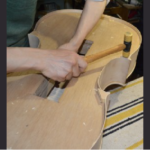
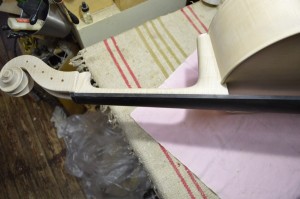
ATTACHING THE NECK
Picture 98: Provisionally attached neck.

Picture 99: Attached neck.
VARNISHING:
Before beginning with the actual varnishing Ueda applied a solution made out of water and instant coffee. This results in a moderately dark foundation for the varnish.
Picture 100: Body stained with coffee solution.
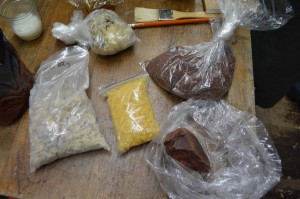
There are countless possible combinations of ingredients to produce certain colors and qualities of varnish. The picture below shows the ingredients that Ueda chose for the final instrument.
Picture 101: Varnish material. From upper left to lower right: fish oil, elemy, shellack,copal. mastic, dragon’s blood. (See Glossary.)
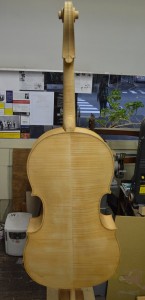
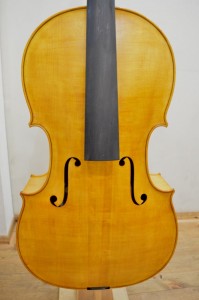
Picture 102: Third layer of front varnish.
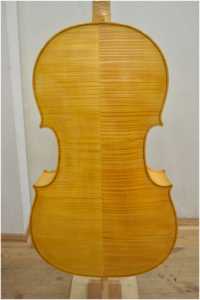
Picture 103: Third layer of back varnish.
CONSTRUCTION OF THE BRIDGE
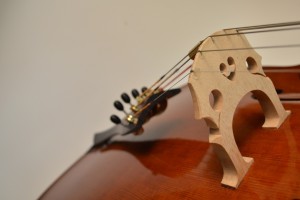
The bridge has basically the same size and shape as a four string bridge. Only the head is somewhat broader in order to accommodate for the additional string. The distance between the strings is slightly smaller than on a four string bridge; otherwise the proportions between feet and head would become distorted.
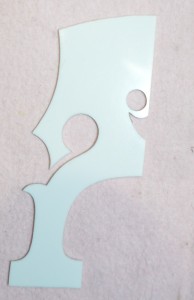
Picture 104: Template of the bridge.
Picture 105: The finished bridge.
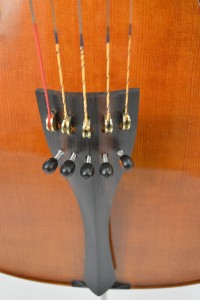
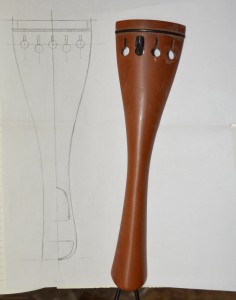
CONSTRUCTION OF THE TAILPIECE:
For the construction of the tailpiece Ueda chose a piece of rosewood. As mentioned before both Prototypes were equipped with fine-tuning pegs which proved to be quite practical. But because of the internal gears they are about 1/3 heavier than regular wooden pegs and Ueda was afraid that this fact would have a considerable, negative influence on the volume of the final instrument. It was therefore resolved to install light-weight adjusters on the tailpiece.
Picture 106: Tailpiece material and template.

Picture 107: Sketch of the tailpiece compared to a four string tailpiece.
Picture 108: The parts of the tailpiece and the partially assembled tailpiece.
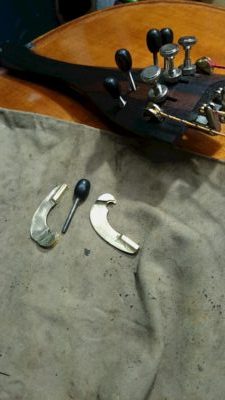
Picture 109: The final tailpiece.