Construction IV / Assembly of the body
(Note: Until indicated otherwise the following construction-process will not differ from the construction-process of a four string cello. Please skip this part if you already know about the basic construction of a cello. Because we did not, and assumed that most cellists don’t either, we included those steps in this report.)
After the back was carved to its final shape it was glued-on permanently to the bouts. The top is almost ready to be glued-on to complete the basic body.
(Click on pictures to enlarge.)
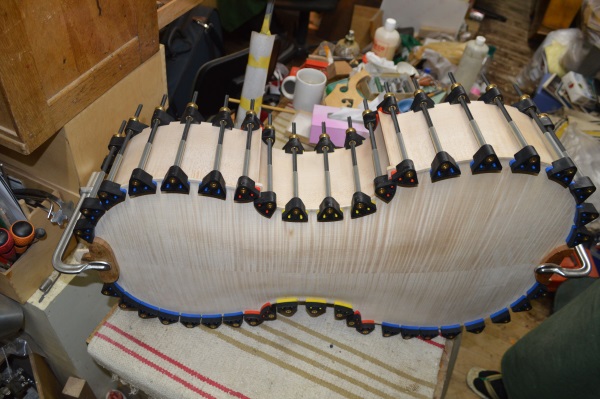
Picture 81: Carved back clamped-on for drying.
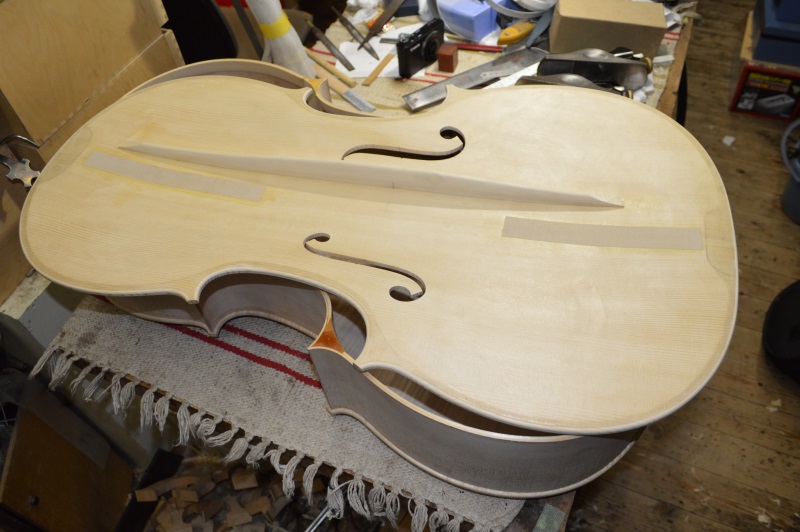
Picture 82: Glued-on back..

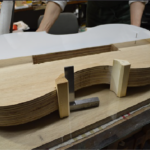
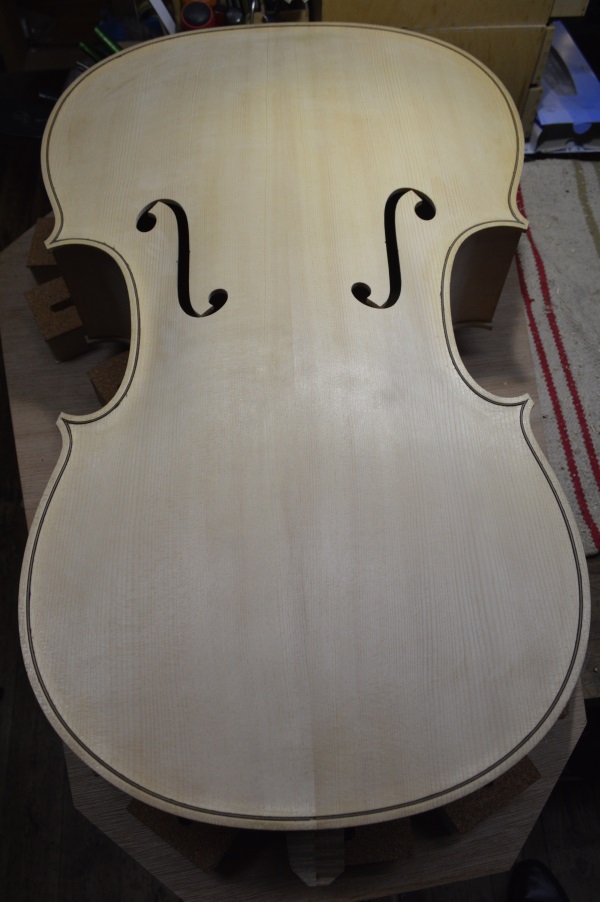
Picture 83: Fitting the bass bar onto the finished top.

Pictures 84 and 85: Removing the form.
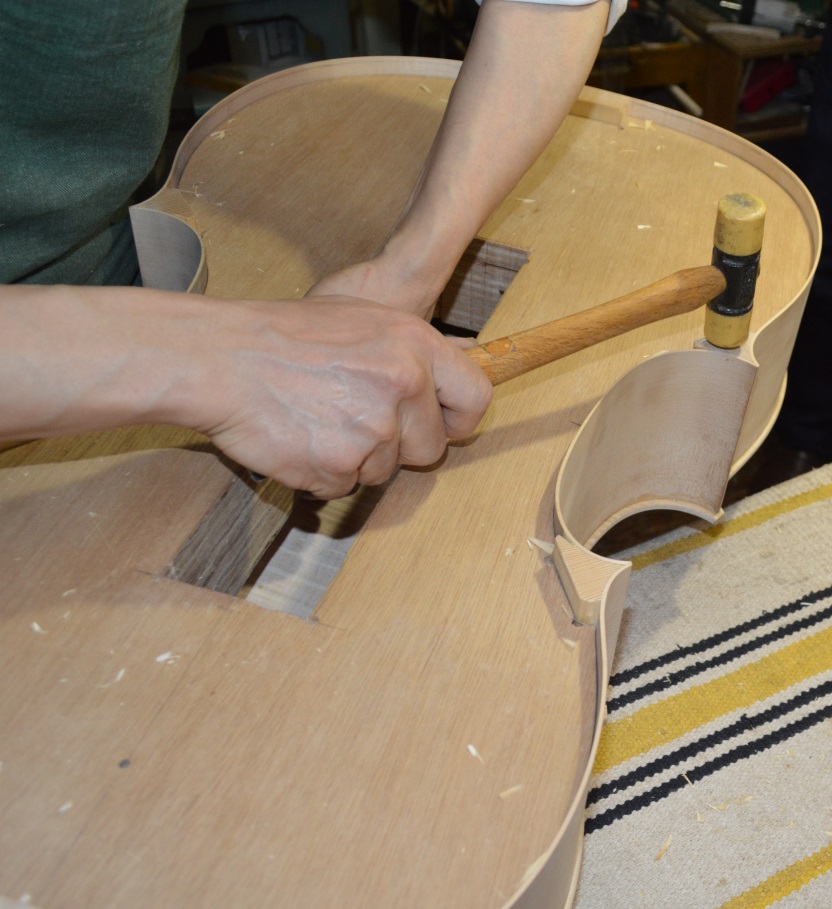

Picture 86: Form is removed.
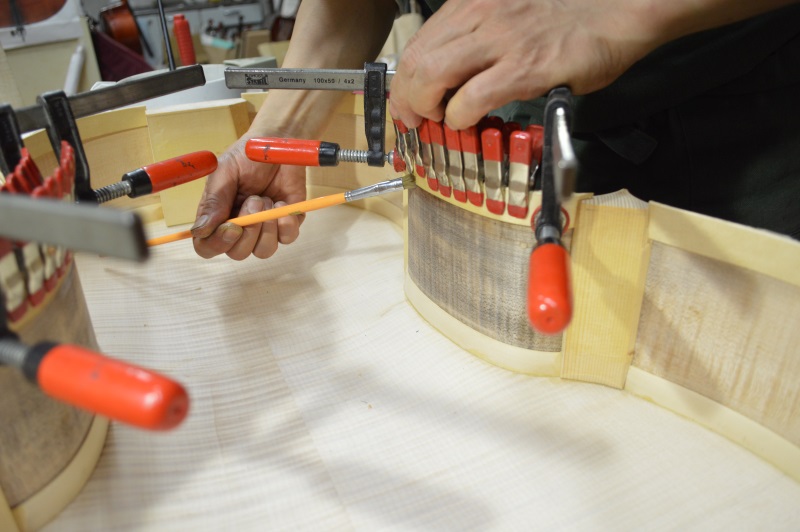
Picture 87: Fixing upper lining.
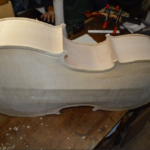
Picture 88: Top and body.
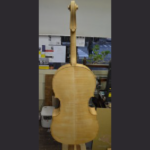
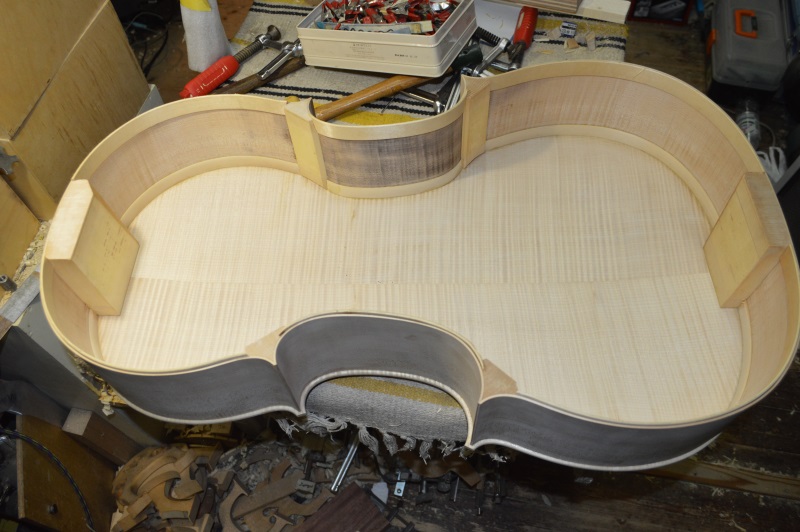
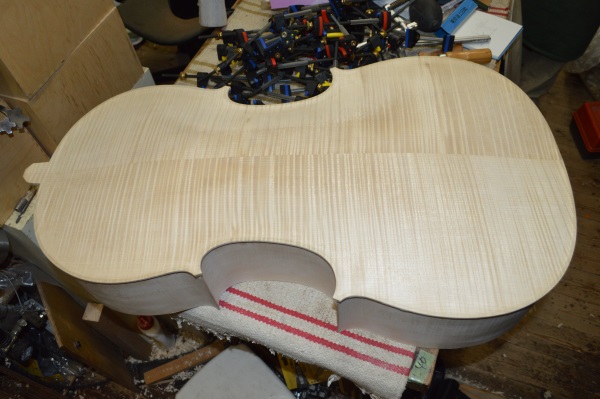
Picture 89: Assembled body.
Insertion of the purfling
For a definition of ‘purfling’ see Glossary
First a purfling cutter was used to sketch the precise outline of the purfling.
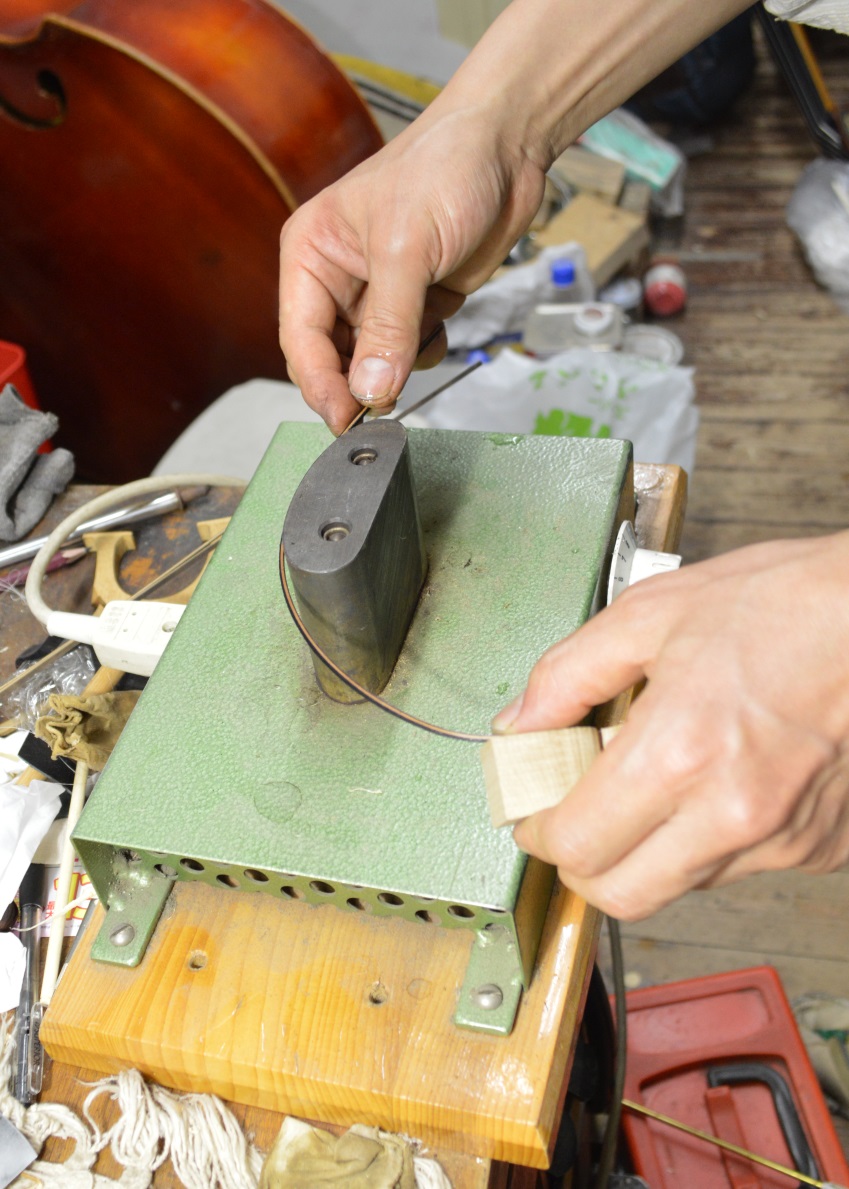
Picture 90: A purfling groove cutter.
![purfling-groove-cutting-tool-[2]-51-p](http://5stringcello.com/english/wp-content/uploads/2015/04/purfling-groove-cutting-tool-2-51-p-300x164.jpg)
Following the sketched line the wood is then being carved-out and the purfling strip is bend to match the outline.
Picture 91: Bending of a purfling stripe.
Picture 92: C-bout purfling put into place.
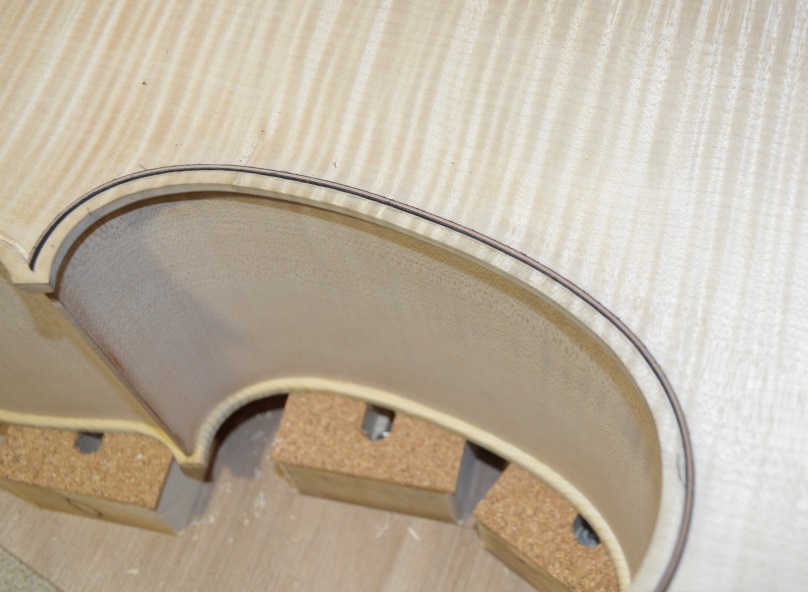
Picture 93: Completed purfling.
With the purfling being finished the next steps are the construction of neck, tailpiece and bridge.